This is my second blog about the Deco frame and in the video below I’ll explain how to assemble the Deco frame kit to help you install your DIY shutters.
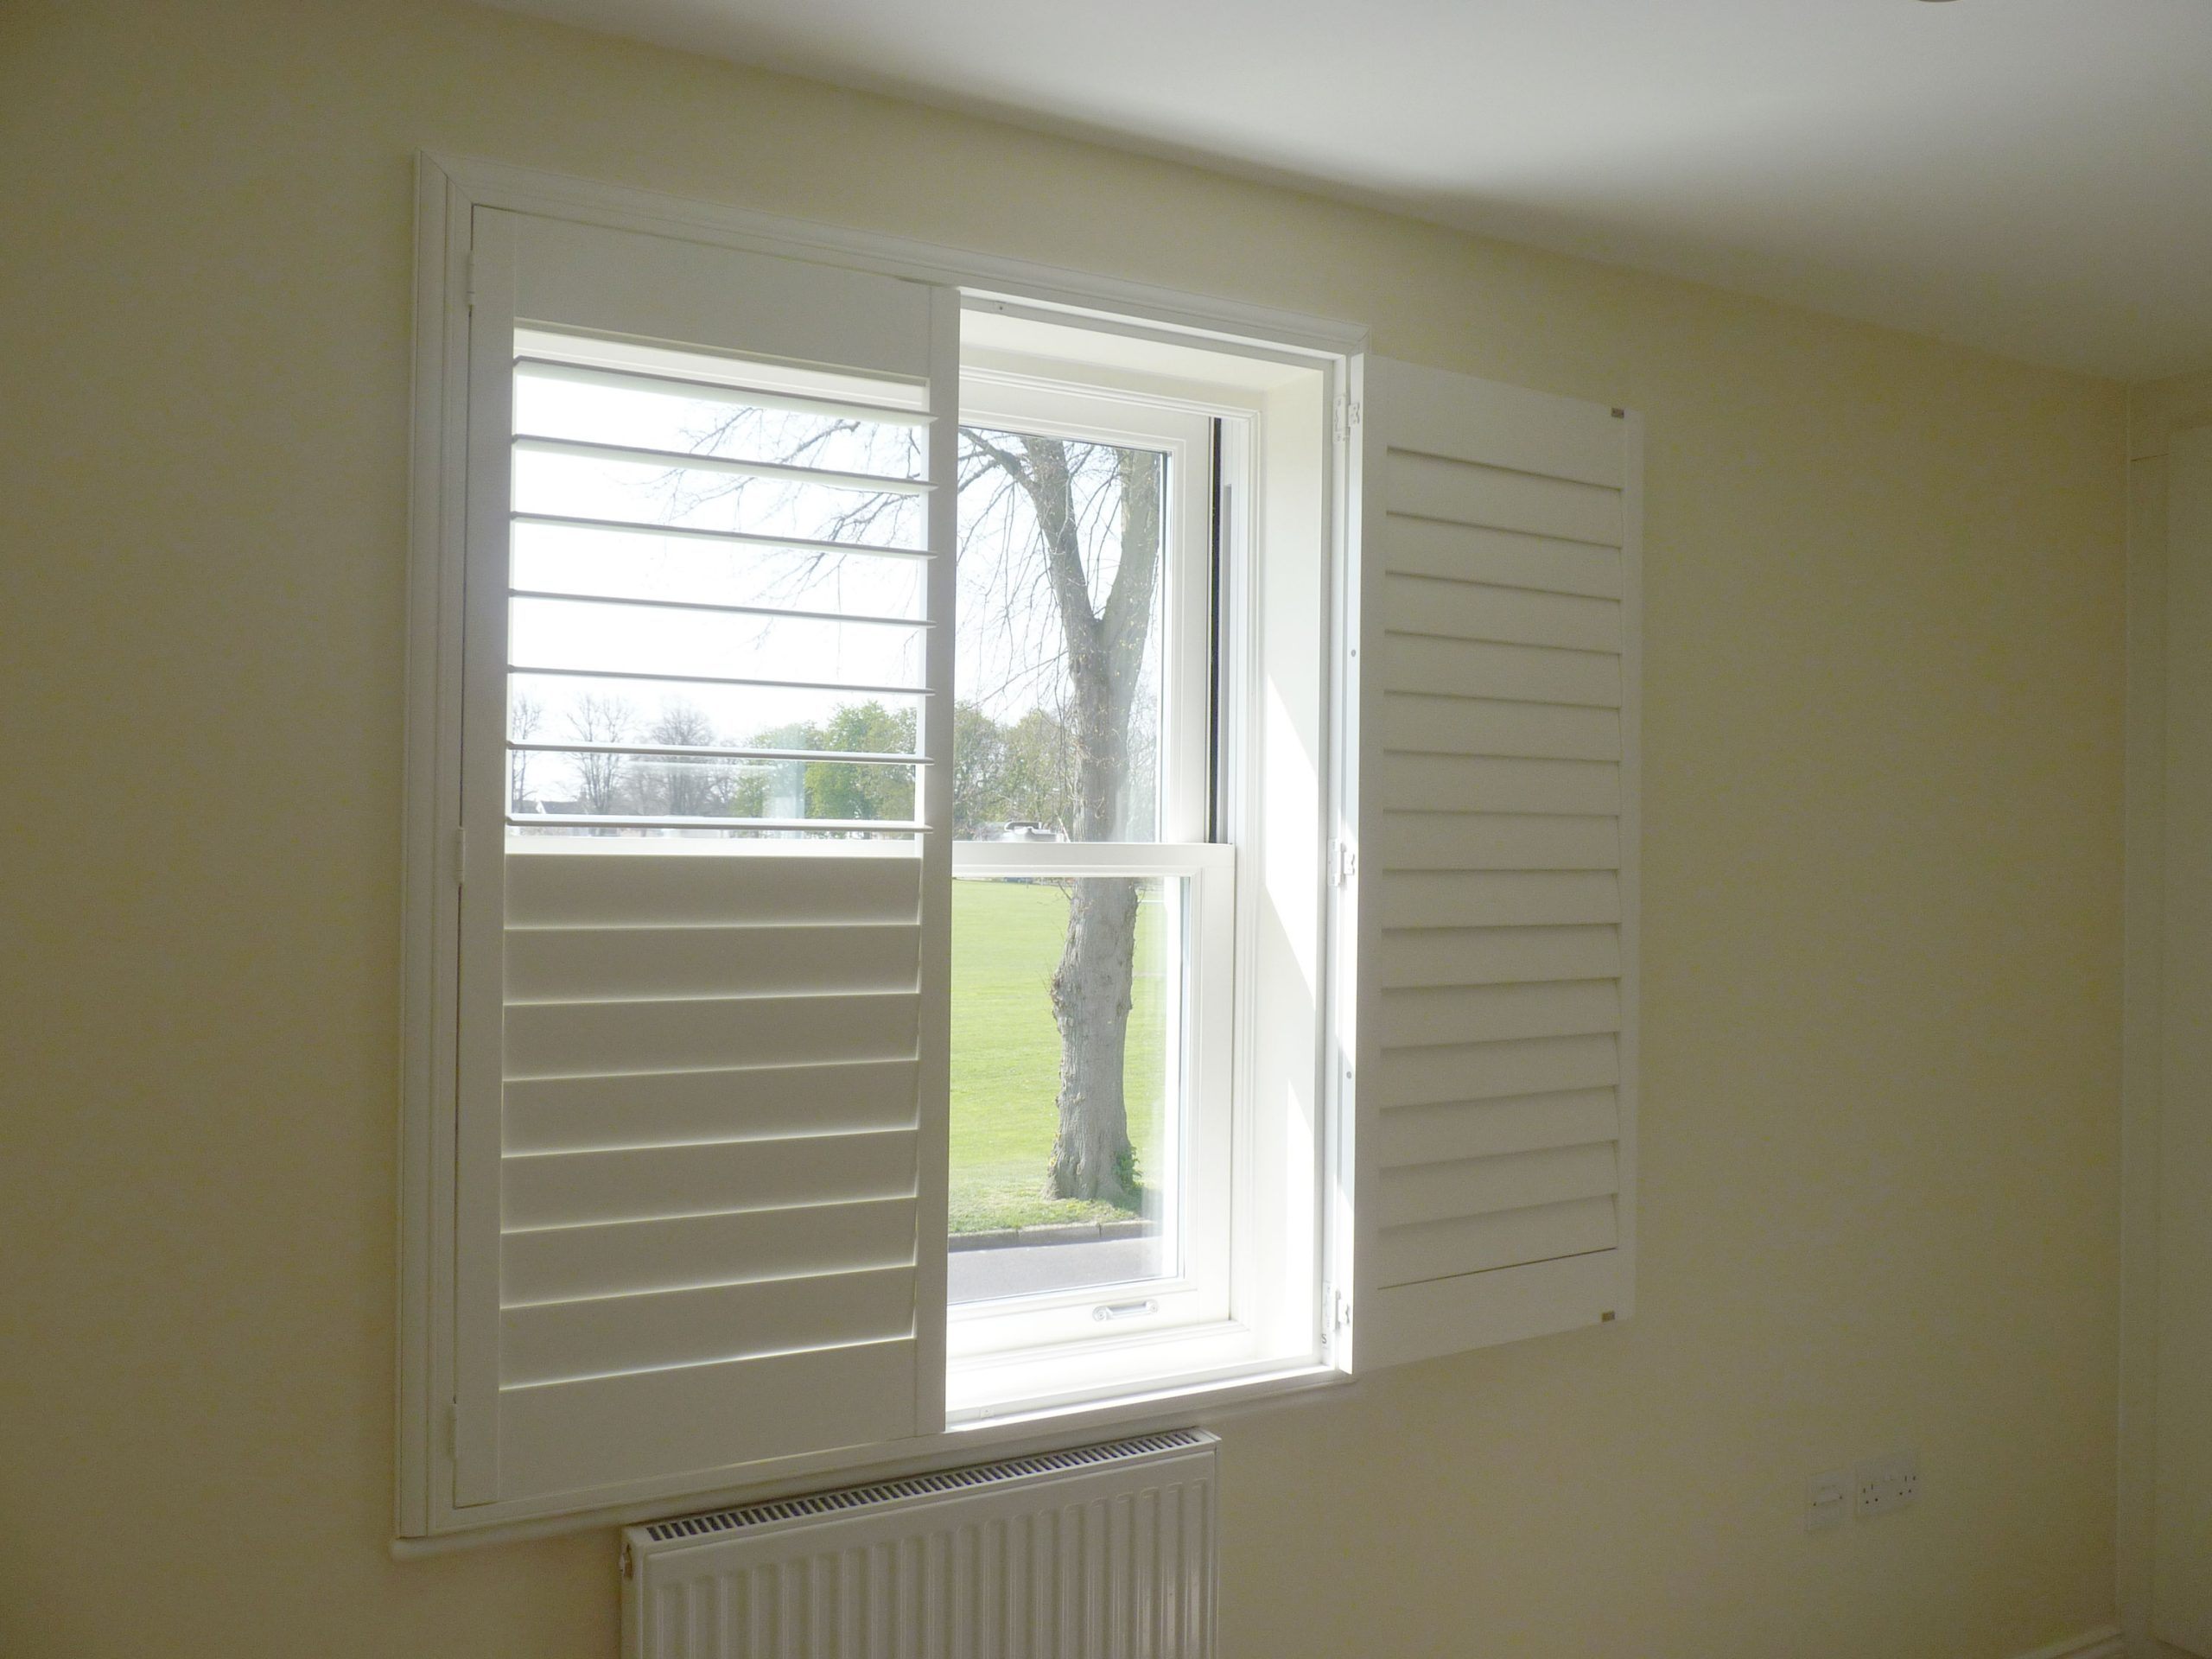
The Deco frame is an ideal frame to use if your windows tilt inwards or you have a shallow recess. The frame fits on the face of the wall rather than inside the recess, keeping the recess-free which allows the window to be tilted inwards. The frame usually has 4 sides, but in this video, you will see I am replacing the bottom frame with a different kind of frame called a sill plate. This type of frame is less decorative and has a flat bottom, it’s designed to sit flat down on the window sill. If you don’t have a window sill you can stick to a 4 sided frame all around.
Check out the video below
Find out how to assemble a Deco frame or watch it on my youtube channel here.
In this video blog, you can learn and watch how the frame gets assembled ready for fitting.
Once the removable inserts have been taken out (these hide the screw holes) just bring the corner mitres together and insert the interlocking hoffman key. Unlike the other shutter frames, the corners of the Deco frame can be screwed together to add strength and to keep the mitres tight together. The screws are provided for this, use a PH2 screw bit and mind you don’t mark the frame with your drill.
Fitting tip:
Once the frame has been put together if your fixing into a brick wall then I would suggest drilling slightly larger pilot holes in the frame. This will give you more room to make adjustments to the frame when fitting it. You have less tolerance when drilling into brick, so an extra large hole allows the frame to be moved sideways or up and down a bit instead of re-drilling holes in the wall, these small movements help align the panels.
Links to useful information:
Learn how to measure a window for an outside recess fitting using a Deco frame here.